
Professional Driveway Installation Process
From initial site preparation to final asphalt application, we handle every detail of your new driveway installation with precision and expertise.
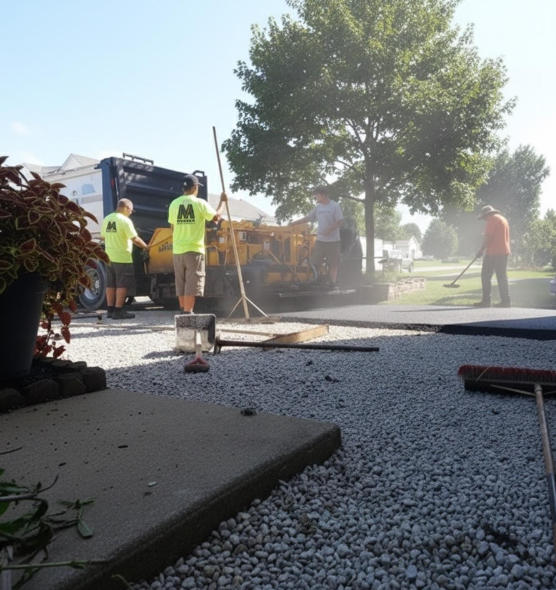
Our Step-by-Step Installation Process
Every driveway installation follows our proven 6-step process to ensure long-lasting quality and performance.
Site Assessment & Planning
We begin with a thorough evaluation of your property, measuring the area, checking soil conditions, and identifying any potential drainage issues. We'll discuss your design preferences and create a detailed installation plan.
Excavation & Grading
We excavate the area to the proper depth (typically 8-12 inches), removing existing materials and vegetation. The subgrade is carefully graded to ensure proper slope for water runoff, typically 1-2% grade away from structures.
Subbase Installation
A compacted aggregate base (usually 6-8 inches of crushed stone) is installed and compacted using heavy machinery. This provides a stable foundation and helps with drainage, preventing future settling and cracking.
Base Course Application
A binder layer of coarse asphalt is applied (typically 2-3 inches thick) and compacted. This layer provides structural strength and serves as a stable base for the final surface layer.
Final Surface Layer
The top layer of fine asphalt mix (1.5-2 inches) is carefully applied and compacted to create a smooth, durable surface. This layer is designed to withstand weather and traffic while providing an attractive finish.
Compaction & Finishing
Using heavy rollers, we compact each layer to achieve proper density (typically 92-96% compaction). Edges are carefully finished, and transitions to existing surfaces are smoothed for a professional appearance.
Professional Drainage Solutions
Proper drainage is critical to the longevity of your driveway. We assess your property's unique drainage needs and implement the right solutions.
Surface Drainage
Proper grading ensures water flows away from your home and off the driveway surface naturally.
French Drains
Perforated pipes surrounded by gravel are installed along the driveway edges to collect and redirect subsurface water.
Catch Basins
Strategic placement of catch basins collects water from low points and channels it to storm drains or drainage areas.
Channel Drains
Linear drainage systems installed across the driveway capture water before it reaches garage doors or other structures.
Why Drainage Matters
Without proper drainage, water can pool on your driveway, seep into the base layers, and cause premature cracking, settling, and deterioration. Our drainage solutions protect your investment by directing water away from the driveway structure, preventing frost heave in winter, and eliminating standing water that can damage the asphalt surface.
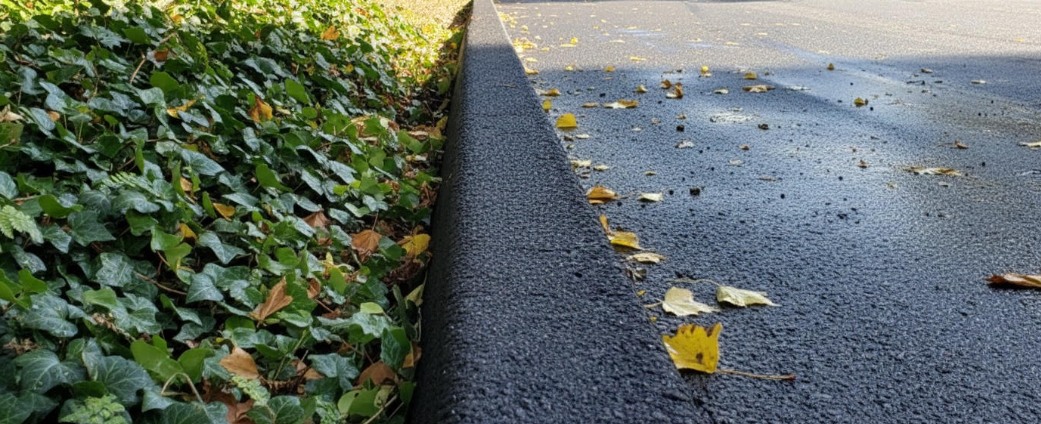
Asphalt Curbing Options
Asphalt curbs are an excellent addition to any driveway installation. They provide both functional and aesthetic benefits that enhance your property.
Benefits of Asphalt Curbs:
- Defines driveway boundaries clearly
- Prevents edge cracking and crumbling
- Directs water flow and improves drainage
- Enhances curb appeal and property value
- Provides structural support to driveway edges
- Creates clean, professional appearance
Installation Process: Curbs are typically installed after the base layer is compacted. We form and pour the asphalt curbing to your desired height (usually 4-6 inches) and shape, ensuring proper integration with the driveway surface.
Installation Timeline
Most residential driveway installations are completed within 4-5 days, weather permitting. Here's what to expect during each phase.
Excavation & Base Prep
- •Site excavation
- •Subgrade preparation
- •Base material installation
- •Initial compaction
Drainage & Curbing
- •Drainage system installation
- •Asphalt curb formation (if applicable)
- •Final base compaction
- •Quality inspection
Asphalt Application
- •Binder layer application
- •Surface layer installation
- •Final compaction
- •Edge finishing
Curing & Completion
- •Allow proper curing time
- •Final inspection
- •Cleanup
- •Sealing (after 6-12 months)
Important Note
After installation, avoid driving on your new driveway for at least 24-48 hours. Full curing takes several weeks. We recommend waiting 6-12 months before applying sealcoating for optimal protection and longevity.
Ready to Install Your New Driveway?
Our experienced team is ready to transform your property with a professionally installed driveway. Get your free quote today!
Serving Luzerne County | Mon - Sat | 8:00AM to 6:00PM